The sewing hotline has closed because of Christmas overwork, Silvi had a very successful exhibition this weekend (so I did not dare to force her into taking photos), my parents in law visited and I made a short dance film (perhaps I can interest you? It’s a melancholic performance about the sea and loosing ones footing in the world: The deep sealiehope. There are even balls of yarn involved :-D).
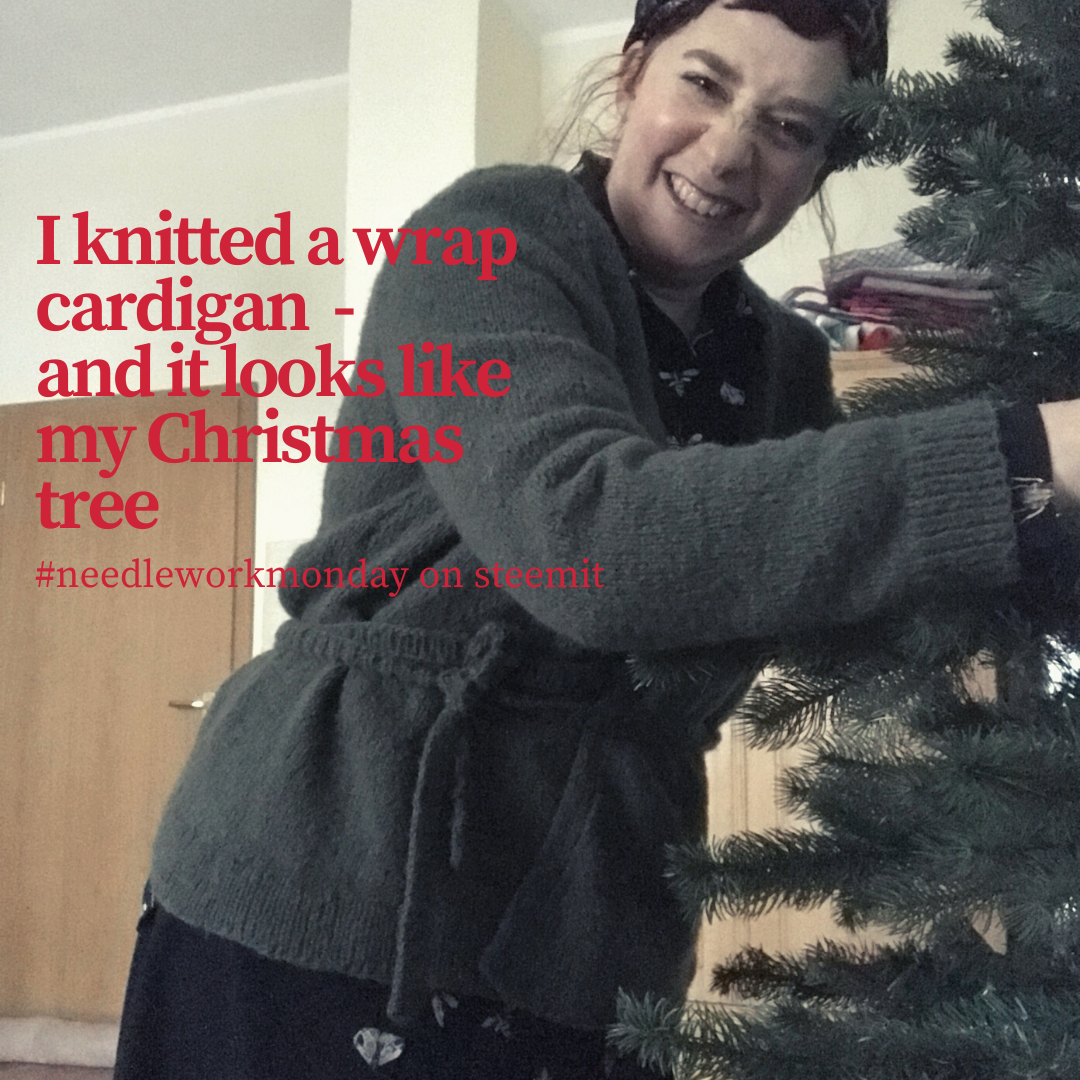
In short words: you will get a lame #needleworkmonday post from me about a handknitted wrap cardigan which looks like my Christmas tree.
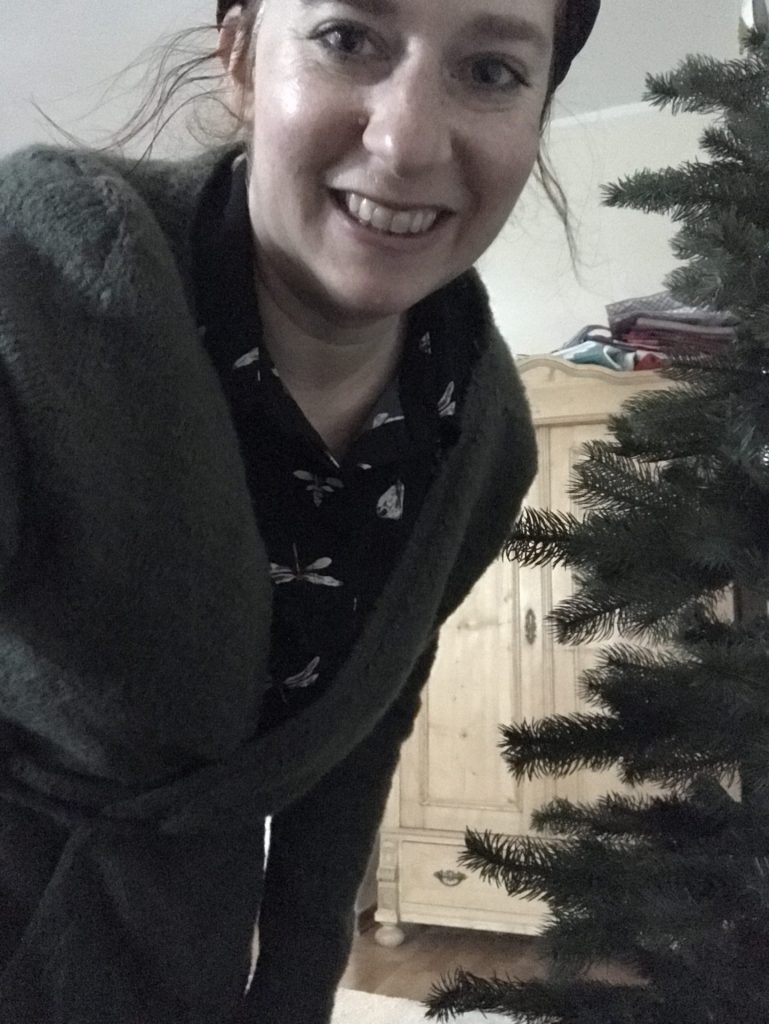
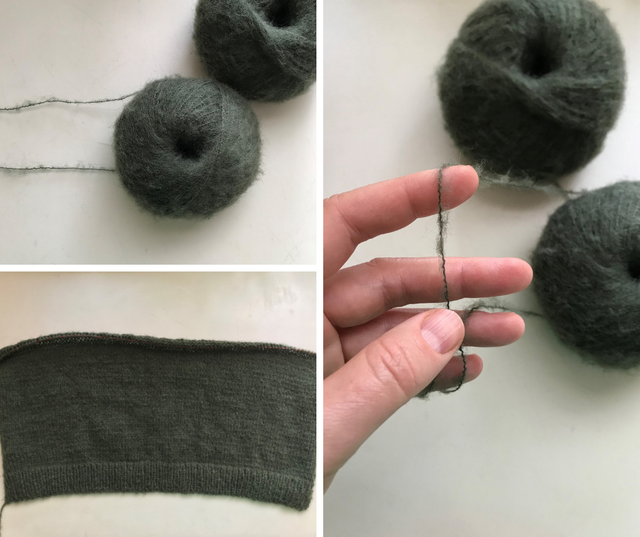
Long long ago I wrote about this wrap cardigan. I am no longer sure about its birthday… maybe it is one and a half year back or even longer. The pattern is form Rico design and it was love at first sight. As always, I used yarn from my stash and therefore had to modify the measurements and needle size. But it was worth it. I used a super fluffy kind of lace yarn which I held double. And I am very satisfied with the fabric it formed; although light in weight it is cuddly and dense. The yarn I bought on eBay from a store I can only recommend. They sell yarn which is twisted into convenient balls out of left-over industrial yarn. Not only is this yarn fairly cheap it is also more sustainable. And as I use so much yarn the letter is an important reason for me.
Back to the finished cardigan. It is the first wrap cardigan I ever
made but I had a store bought one I loved, and I remembered it to be
very versatile. Meaning: I wanted to knit a wrap cardigan for longer (I
even have a whole Ravelry section dedicated to warp cardigan patterns)
The cardigan from Rico design is knitted in parts and then sewn
together. As it is knitted from the bottom up, the triangular front
parts are formed by stitches which are casted on every row at the end or
beginning. I started with only 8 stitches for the left front… The
ribbing for the hem is knitted afterwards. The “buttonband” (there are
no buttons) is knitted with the fronts. The sleeves are set in sleeves.
But beware, the overall fit of the cardigan is oversized, only the
sleeves are narrow. Too narrow for my liking, so I had to unravel them
one time to restart with a bigger stitch count.
By the way, stitch count, needle size and yarn details are all on my Ravelry project site.
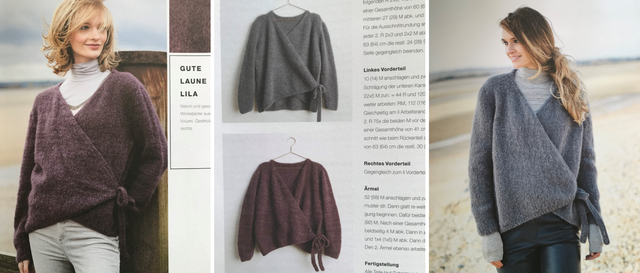
The exiting part of this knitting project was the finishing. The original pattern wanted me to attach the tie at the hem of the wcardigan. Looks kind of nice on the super slim and tall model in the magazine. But tying a band around MY hips or thigh – the widest part of my body – appeared to me as a very unflattering solution.
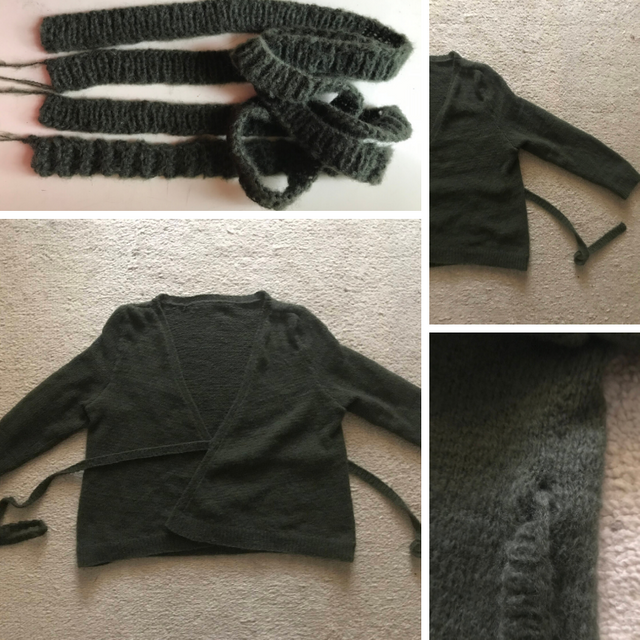
So, I let a little hole in the side seam of the cardigan at waist height. I then knitted super long ties (which is a lie… I knitted the ties too short and fumbled more length to them by crocheting single crochet back loop stitches which you can see on the photo above) I attached both at waist height at the fronts.
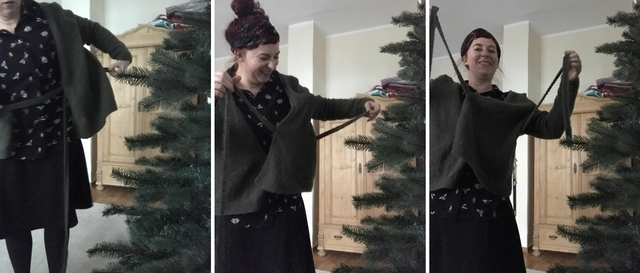
To close the cardigan, I carry one tie at the inside through the hole at the side and the other over the outside of the cardigan. I can then wrap them completely around the waist, so that the cardigan looks a bit more fitted and not like a egg-shaped oversized blob :-DDD… While writing this down I imagine this egg-shape and find it kind of cute (in my head), perhaps next time.
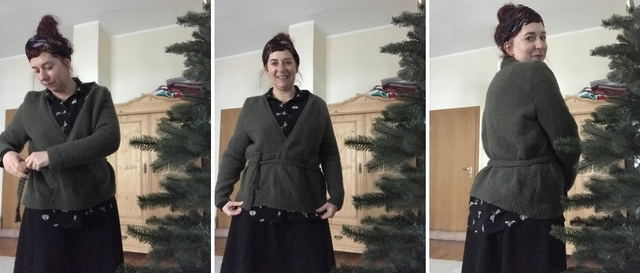
Excuse the bad and dark photos, but we have storm and rain and generally unkind weather for indoor photos and as written in the intro, I poured all my artistic energy into the little film 😀
Thank you @crosheille for iniciating and @muscara, @shanibeer, @marblely for hosting the #needleworkmonday. If you want to see more beautiful projects with yarn, fabric and most of all needles, follow @needleworkmonday on steemit. Or even better grab your needles and keyboard and join the #needleworkmonday community. You can read more comments on this post on my steemit blog.