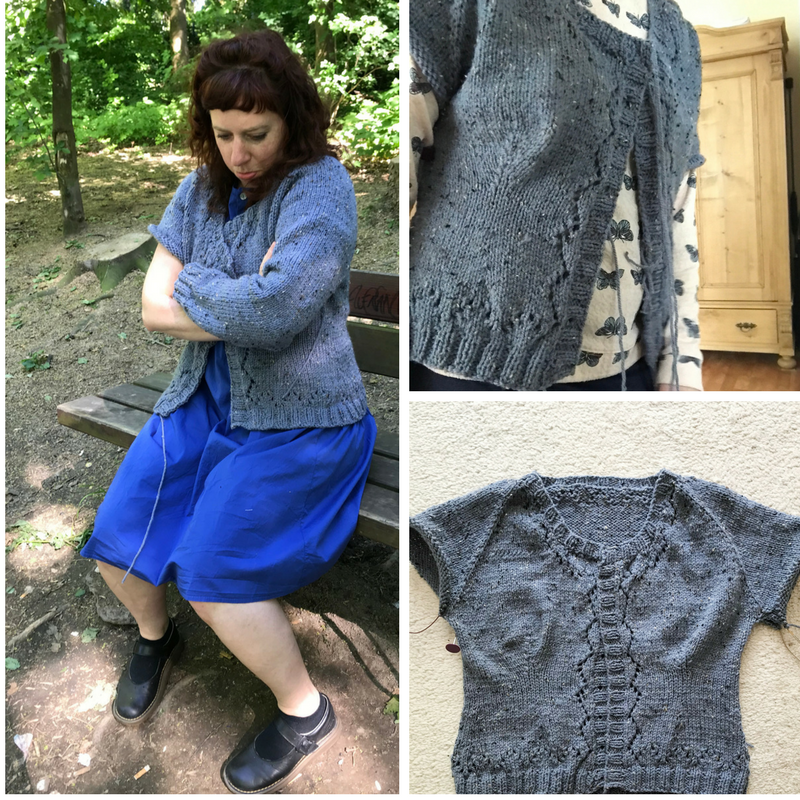
Last week I presented you with the riddle of how to shrink a too big bustline in a knitted cardigan. Perhaps you remember – it’s my blue-gray Miette cardigan which I on the one hand made to big in neckline and bust area and on the other hand which had bust darts which formed two baggy protuberances one cannot ignore (especially because they stay empty even when I wear the cardi).
I got so many helpful, funny, and comforting answers from you (you can read the comments here) that I made a big step forward into finishing the cardigan: I started the first sleeve. Now I hear you wondering ‘why didn’t she followed our advice and tackled first the bustline problem?’ And I wonder with you. I misguided my self into thinking, that the sweater would miraculous fit, if I simply finish the sleeve.
 I could not convince myself entirely, so I distracted myself from sensible and honest thoughts by starting to sew a jeans skirt. But everything is connected and so the sewing led to a new attempt of mending the sweater, but with a little detour.
The sewing was dammed in the beginning, every time I started to seam the fabric, the thread tore. As I told you, I am not so experienced in sewing and perhaps I am a tad stubborn and ignorant, so I tried it not one time but perhaps eleven three times. But the thread did not work. I have a very sweet neighbour who is more accomplished in sewing. She told me that I was using a too old and thin cotton thread which was the culprit. I believed her (yes, I can be sensible) and went to the fabric store to buy something adequate.
This store has two very nice salespersons who started to chat, and we wandered from sewing to crochet to knitting and I again presented my cardigan problem. And they presented me with another very easy idea how to mend this huge bustline. And because I am lazy at the bottom of my heart I immediately jumped on this ‘simple’ solution. I am sure you already can imagine how this went.
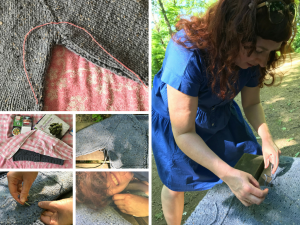
 The idea was to sew a curve beginning at the waist up to the armpit to the sleeve and so tuck away the excess fabric. I discussed this technique with a goo friend who was instantly sceptical, but nevertheless wanted to help me. She recommend that I firstly block the cardigan and that I should press down the protuberances… and I followed that advice (I am learning :-D)
The sweater was dry very fast, because we have again summer instead of spring. And so we went into the forest to find a secluded spot. Firstly I forced gently persuaded my friend to take the camera and document everything, then I sat down to sew. I turned the sweater on the wrong side and basted everything together. And surprise… I produced a lovely bulge.
Arghhhhhh!!!!!!
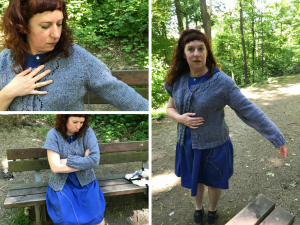
 I think the idea with this sewn curve was ok, but the yarn of the sweater is simply too bulky to make an invisible seam – I could not get it tapered out (not sure if the term is right).
Because it was so hot and me wearing a wool sweater did not made it it better, we fell a little bit overboard with the photos.
End of story: I will wear this sweater as it is. The blocking helped a bit and perhaps I will get used to its appearance.
 If I ever think again about mending this sweater I will try out shanibeer’s idea to steek, cryptocariad’s idea with the lacing and if nothing helps I will reenact Cinderella (recommend by jamethiel )
‘… find a random stranger with a big bust but narrow waist and throw it at them, then run! It would be like Cinderella but with a cardigan and the fairy godmother has cool glowing wands (Star Wars knitting needles which glow in the dark)! If the Cardigan fits, you get to go to the ball…’
Happy #needleworkmoday to you all (not sure if I should not better publish my posts under the hashtag #craftfail ??) And big thanks to Silvia Szlapka a for the photos and the patience.